Every website needs to have an SSL Certificate these days. When you run your website on a Virtual Machine getting the cer or crt file from the company that you purchase an SSL certificate from is easy. When you are using an Azure Web App this isn’t always as straight forward as you can’t just log into the VM and create the CSR to upload to the company that you are purchasing the certificate from.
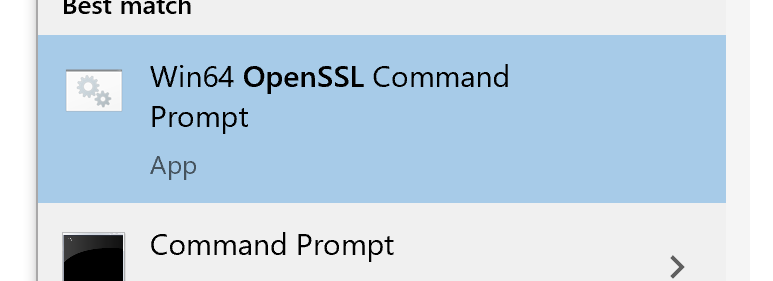
The first step will be to install openssl on your computer as you’ll need to have that installed. I recommend the full install of it, it’ll make your life easier. Once openssl is installed find the OpenSSL Command Prompt on your start menu (it’ll look something like this).
Once you have a command prompt open you’ll need to use openssl to create the private key as well as the CSR that you will need to give to the company that you purchase the certificate from. This is done using the below command.
openssl req -new -newkey rsa:2048 -nodes -keyout {key file} -out {CSR file}
Once that’s done you can purchase your certificate from your preferred company and send them the CSR file that it created by the command above. Once that happens the certificate company will send you a few certificate files. In my case, I purchased our SSL certificate from DigiCert, and DigiCert sent me three files.
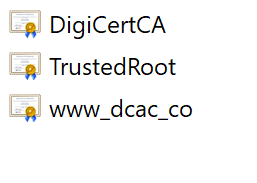
Each of these files needs to be opened in Notepad and the text copied into a new file. The order of the data should be your actual certificate (www_dcac_co.crt in my case), then any intermediate certificates (DigiCertCA.crt in my case), then the root certificate (TrustedRoot.crt in my case). This file should look something like this.
—–BEGIN CERTIFICATE—–
<your entire Base64 encoded SSL certificate>
—–END CERTIFICATE—–—–BEGIN CERTIFICATE—–
<The entire Base64 encoded intermediate certificate>
—–END CERTIFICATE—–
—–BEGIN CERTIFICATE—–
<The entire Base64 encoded root certificate>
—–END CERTIFICATE—–
After this is done, save the file (I called is dcac.crt). Then use openssl to convert this merged file and your key file that you created with the first openssl command into a PFX file, which I called dcac.pfx using the openssl command below. Openssl will ask you to enter a password to secure the file.
openssl pkcs12 -export -out dcac.pfx -in dcac.crt -inkey {Key file}
Once you have the PFX file go to the Azure portal and navigate to the Web App that needs the certificate. Select the TLS/SSL menu option and the TLS/SSL blade will open. Once the blade opens select the “Private Key Certificates” option and then select the “Upload Certificate” option.
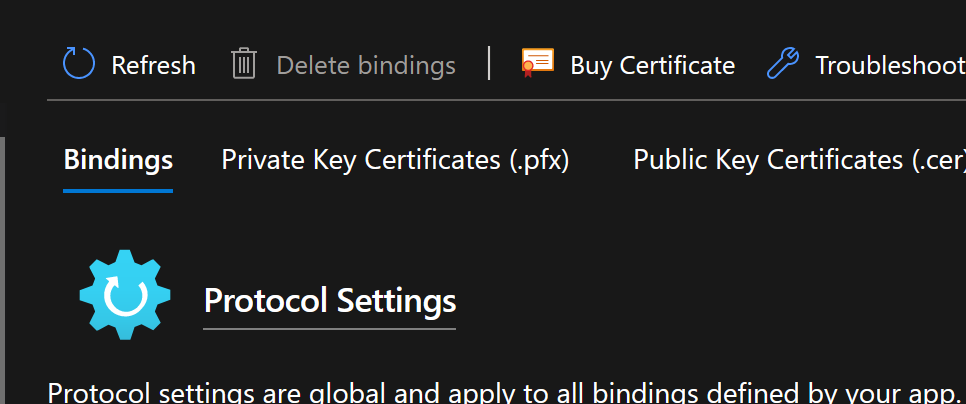
In the menu that opens, select the PFX file that was created and enter the password that you entered when creating the PFX file (if you forgot the password that’s fine just run the final openssl command again). Once the file is uploaded select the “Bindings” tab again, and bind the correct websites to the certificate that you just imported.
That’s it, the next time someone views your website, they will see the new SSL certificate.
Denny